This time around, we shall cover How To Remove Old Faucet Nut. Obviously, there is a great deal of information on Ace 1/2 in. Plastic SAE Faucet Lock Nut 2 pk on the Internet. The fast rise of social media facilitates our ability to acquire knowledge.
how to loosen faucet nut under sink-related material is also connected to Kitchen Faucet Plastic Nut Stuck and How To Remove A Stuck Plastic Lock Nut. As for further searchable items pertaining to Kitchen Faucet Removal Problems, they will likewise have anything to do with Faucet Lock Nut Replacement.
43 Reference List: How To Remove Old Faucet Nut | How To Remove Plastic Nut Under Sink
- Consider creating a strong strip. Stick the strips to the back. That is the non-sticky part. Your next move should be to wrap a portion of the strip around the faucet’s nut. - Source: Internet
- Once you feel the zip-tie wrapped around the nut is tight enough, start pulling it. Just grab the tail and pull in any direction you want. You can tighten or loosen the nut. - Source: Internet
- After the supply lines are disconnected, use a basin wrench to loosen the nuts that are holding the faucet. While you’re loosening the nuts, ask a second person to hold the faucet from above the sink. Once the nuts are loose, remove the faucet from the configuration. - Source: Internet
- You can also use vinegar, as it’s a wise choice since it’s environmental-friendly. And consider the faucet’s finish using any cleaner. Please don’t use a cleaner that can damage its finish. - Source: Internet
- A bottom-mount faucet uses a design in which the bulk of the faucet body is found below the sink. Here, you’ll need to remove the handles and spout, then loosen and remove the mounting nuts holding the faucet from above. When these mounting nuts are removed, the faucet body can be dropped down and removed from below the sink. - Source: Internet
- Before running the faucet it is clear to check if the flow of water is uninterrupted and the lines are clear. Therefore, remove the aerator from the faucet before opening and turn on the water slowly. Let the water run aerator-free for some time and recheck for any leaks under the sink. - Source: Internet
- Unfortunately, not everyone has this tool at home. But that doesn’t mean you cannot loosen or tighten the nut holding your faucet in place. Just follow the tips highlighted in this post to get it done. - Source: Internet
- Tip In some cases, when turning the valves off under the sink they may leak from the handle. In most cases, there is a packing nut behind the valve’s knob that you can make a 1/4-turn tighter. If you tighten this nut too much you will not be able to turn the handle, so always tighten in small increments. - Source: Internet
- Aerators suffer the same debris and mineral buildup as other parts of the faucet. So, it requires maintenance too. Experts recommend cleaning aerators every year to keep them in top shape. - Source: Internet
- The Spruce / Kevin Norris Unscrew Mounting Nuts With the handles and escutcheon out of the way, you should see the mounting nuts that hold the faucet body in place. There may be nuts at both handle locations, as well as at the spout. Use channel-type pliers to remove the mounting nuts. Do the same for the spout mounting nut, if there is one. - Source: Internet
- If what you have in your area is hard water, you’re going to have challenges keeping your faucet in shape. Hard water contains huge mineral deposits. So there’s a possibility of lime buildup in your faucet. - Source: Internet
- The cost of replacing a faucet depends largely on how much you spend on the new faucet and whether you’re installing it yourself. If you are replacing a faucet with an inexpensive model, the project can cost as little as $100. If you’re hiring a plumber to replace a faucet, it can cost an average of $260 or more. - Source: Internet
- After the gasket or putty is in place, feed the flexible supply lines or PEX piping through the hole in the sink, and set in the faucet. (If you’ve used plumber’s putty, you can clear away any excess with a putty knife or use a finger.) - Source: Internet
- The longevity of a faucet depends on many factors, including its design, material, and the type of water running through it. Hard water is tougher on all plumbing, including faucets. In general, however, a faucet can be expected to last 15 years or more. - Source: Internet
- I need to remove several faucets. The faucet nuts are in a very tight space, in several places recessed into a hole in the basin (see the first two photos). There’s no space to get a basin wrench, crescent wrench, or even vice grips in there. The nut does have two notches - is there a tool that can mate with those notches from below? In the third picture, there’s a little more space but still not enough to get a basin wrench in there. Is a really deep socket my best bet? Something else? - Source: Internet
- After connecting the faucet to your water supply, turn on the faucet and check for any faucet leaks. Pay particular attention to the gasket where the sink meets the faucet and also to the supply line and valve connections under the sink. Tighten nuts and gaskets as needed, but take care not to overtighten them. - Source: Internet
- Cultivate the habit of cleaning your faucet daily, especially after each use. Use a damp cloth and a milder cleanser. Then dry with a clean, soft cloth. - Source: Internet
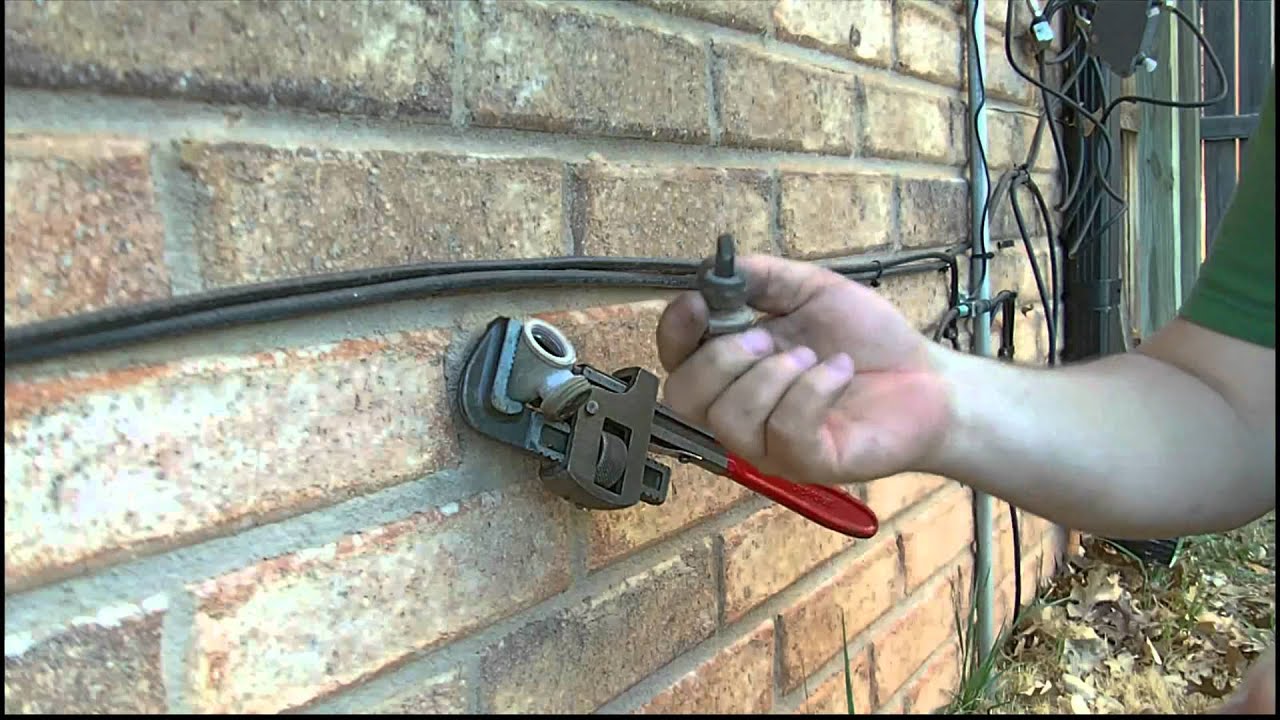
- No matter what type of faucet you have, you’ll need to start by shutting off the water to the faucet. Do this by turning off the two shutoff valves located beneath the sink, or by shutting off the main water supply valve to the house. The shutoff valves are closed when you turn the handles clockwise as far as they will go. - Source: Internet
- However, not having a basin wrench doesn’t mean your kitchen faucet should remain in bad shape. You can fix the faucet without a basin wrench. Just follow the simple instructions in this post to the latter. - Source: Internet
- Tap with a hammer. Jarring the nut can break its bond to the bolt. To make sure you hit the nut itself and not the surrounding threads, place a center punch on the nut and strike the punch with a hammer. - Source: Internet
- Any plumber would use a basin wrench to loosen your kitchen faucet. The tool makes the job quick and easy. But then, you’re not a plumber. So there’s a tendency that you don’t have a basin wrench. - Source: Internet
- The Spruce / Kevin Norris Remove Faucet Body Remove the faucet body from under the sink. Sometimes the faucet will fall on its own once the mounting nuts are removed; other times, you will need to tug on it gently to free it. It’s a good idea to place a thick towel beneath the faucet so that it doesn’t damage your cabinet or floor if the faucet assembly drops. - Source: Internet
- A kitchen faucet does so much yet receives little to no care. It only gets the attention it deserves when there’s a problem. But that shouldn’t be the case. - Source: Internet
- Or perhaps, the water pressure has reduced, and you’re eager to fix the problem by yourself. You can replace an old kitchen faucet or fix a low-pressure problem by yourself. Just get a basin wrench, loosen it and get it done. - Source: Internet
- Once the washer and the nuts are in place, it is time to reconnect the water supply lines. Use a basin wrench for this process and make sure not to overtighten supply lines connections. Turn on the water and check for any leaks. Adjust the connection if necessary. - Source: Internet
- Some new faucets, including Delta faucets, come with flexible PEX lines that are already connected to the faucet, which makes this step very easy. In this case the hoses just need to be connected at the water valve. Take care to connect the hot and cold PEX supply lines to the appropriate water valves. - Source: Internet
- After the faucet is attached from the top, it is time to install washers and nuts from underneath the sink. Remove the excess putty, if any, from underneath the sink. Once the excess putty is removed, install the washer and the nut that goes along with it. Make sure to tighten the installations. - Source: Internet
- Tip Unless these supply tubes are relatively new, it will be best to replace them with new tubes when you install a new faucet. The Spruce / Kevin Norris Loosen Mounting Nuts Using a basin wrench, reach up behind the sink basin from inside the vanity cabinet and grip the mounting nut that holds one of the faucet valve tailpieces to the sink or countertop. Turn the nut counterclockwise (viewed as you look upward at the nut from below) to loosen it, and unscrew it down the threaded tailpiece. Repeat with the mounting nut on the other tailpiece. If access space is tight, you may need to remove the water supply tubes from the ends of the faucet tailpieces to provide more space to reach up with the basin wrench. - Source: Internet
- This tool boasts a pivoting gripping head, sitting firmly at the end of a long handle. The basin wrench is specially constructed to get into awkward spaces like the one behind your sink. It loosens and tightens mounting nuts on the kitchen faucet. - Source: Internet
- It is not uncommon for shutoff valves to grow old and stop functioning correctly. If you find that water continues to dribble even after closing the shutoff valves, then you’ll need to shut off the main water supply valve to continue this repair. It also means you will need to replace the fixture shutoff valves as part of your faucet replacement project. - Source: Internet
- Removing the old faucet requires just a basic wrench and a little help from a second person. Before removing the faucet, it is required to turn off all the valves underneath the sink and turn on the faucet to relieve pressure in the lines. Before taking it off, it is better to click a picture of the plumbing configuration to use as a reference later. - Source: Internet
- Tighten the nut. Moving the nut in any direction is progress. Then try to loosen it using a correctly sized wrench. - Source: Internet
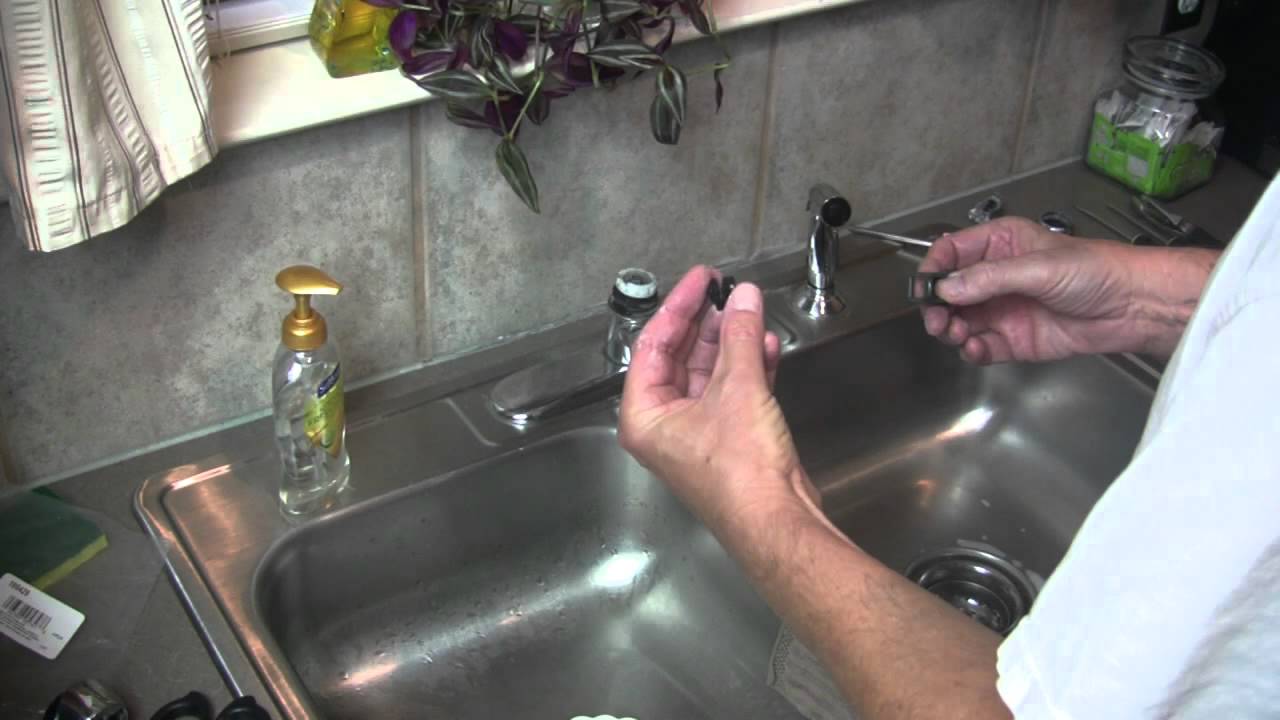
- The Spruce / Kevin Norris Remove Handles and Spout Working from above, remove the valve handles and spout from the faucet. Look for a hidden set screw that holds the handle or handles in place. The set screw for the spout is sometimes found under an escutcheon ring that can be lifted to expose the screw. - Source: Internet
- The costs to replace a kitchen sink faucet can vary depending on the condition of your current faucet. A rusty faucet costs more to replace than a relatively cleaner one. Rusty faucets also require more manpower to replace since they almost always need to be sawed out. On average, a faucet replacement job sits around $212 to $558 which includes labor charges as well. - Source: Internet
- Once the old faucet is removed, it is time to install the new faucet. Pass the new faucet through the gasket and set it firmly on the top by using putty. A putty knife should be used to spread the putty evenly. Make sure that the faucet is firmly fed into the hole and is not loose. - Source: Internet
- Any time you replace an old faucet, you have to take off the locking nut that holds the faucet tight to the countertop. But often that nut will be frozen due to corrosion or mineral buildup from years of water seepage. Here are some nut-freeing tricks from Richard Trethewey. This Old House’s plumbing and heating expert, listed in order from easiest to difficult. - Source: Internet
- Most new faucets come with a rubber or plastic gasket that keeps the joint between the sink and the faucet from leaking. Before installing a new kitchen faucet, first put the faucet’s gasket in place. Push the gasket in around the base of the faucet (or under the escutcheon plate that covers the sink’s open holes, if you’re installing a one-hole faucet in a three- or four-hole sink). - Source: Internet
- In no time, you will see the nut coming off gradually. The only time you might encounter challenges when using this method is when the nut is rusty. But that isn’t always the case. - Source: Internet
- Crawl under the sink and tighten the plastic nut until it almost hits the underside of the sink. Tighten each of the mounting screws until the faucet is tight against the sink. Enlist a helper to make sure the faucet is straight and properly positioned in the hole or escutcheon before making any final adjustments. - Source: Internet
- Given how much tugging and knocking was just done on these pipes and valves, there’s a good chance that you’ve dislodged some debris and mineral deposits inside the water lines. To flush it out, remove the faucet aerator (that small screen on the end of your faucet that keeps these deposits from ending up in your glass of water). Some faucet models come with a tool with which you can remove the aerator; on other faucets, the aerator can simply be unscrewed. - Source: Internet
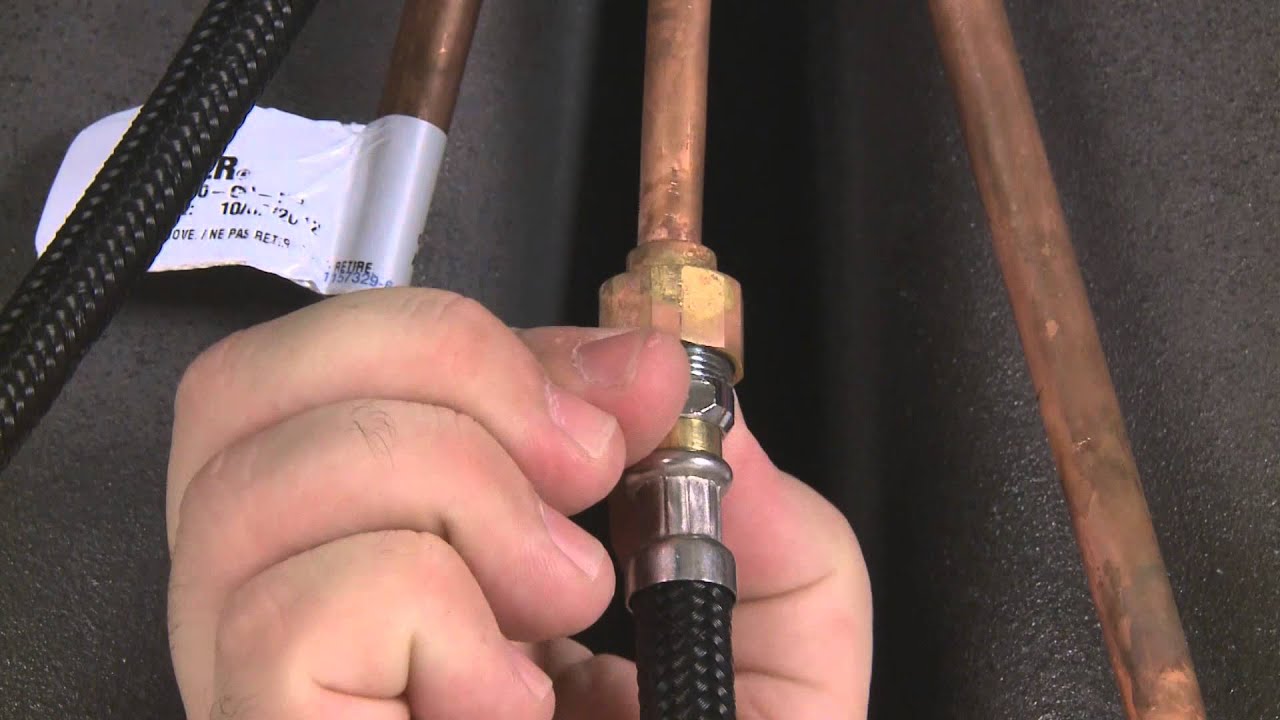
- The Spruce / Kevin Norris Disconnect Water Supply Tubes Disconnect the water supply tubes from the shutoff valve, using two sets of pliers: one to hold the shutoff valve motionless and another to turn the compression mounting nut. The supply tubes may be flexible tubes or rigid chromed copper tubes. In rare cases, the supply tubes may be soldered to the shutoff valves. Here, you can cut through the supply tubes with a hacksaw or tubing cutter. - Source: Internet
- If you’re seeking tips on how to remove a kitchen faucet without a basin wrench, you’re in the right place. One thing you mustn’t forget is that the basin wrench is built for this purpose. Therefore, it is much easier, and it would make the job faster. - Source: Internet
- The problem is, i think the nut that is hold that brass plate has corroded. The other problem is I have very little room to work with under the sink. Only like a 3-4 inch gap to try to loosen the nut. - Source: Internet
 Here are some recommendations for locating information about how to loosen old faucet nuts to get you started:
- Research Tool To Remove Kitchen Faucet Nut-related information from credible sources. This includes libraries, websites, and even journalistic professionals.
- When researching How To Remove A Stuck Metal Faucet Nut, it is vital to be aware of the numerous sorts of electronic media sources, such as Google and YouTube. Social media networks, such as Facebook and Twitter, are also likely to include information on Removing a Faucet (Top-Mount or Bottom-Mount).
Here are some recommendations for locating information about how to loosen old faucet nuts to get you started:
- Research Tool To Remove Kitchen Faucet Nut-related information from credible sources. This includes libraries, websites, and even journalistic professionals.
- When researching How To Remove A Stuck Metal Faucet Nut, it is vital to be aware of the numerous sorts of electronic media sources, such as Google and YouTube. Social media networks, such as Facebook and Twitter, are also likely to include information on Removing a Faucet (Top-Mount or Bottom-Mount).Video | How To Remove Old Faucet Nut
To obtain the most accurate information on Ace 1/2 in. Plastic SAE Faucet Lock Nut 2 pk, it is essential to investigate the credibility of each source by reading.
This page contains multiple How To Loosen Plastic Wing Nuts-related films from a variety of sources, which can expand your understanding about How To Remove Faucet Nut Under Sink. Internet is an excellent resource for getting information on a range of subjects.
## Here are some crucial aspects concerning Plastic Faucet Mounting Nuts:- How To Remove Old Faucet Nut
- How To Remove Old Kitchen Faucet Nut
- How To Remove Old Faucet Plastic Nuts
- How To Remove Old Kitchen Faucet Plastic Nut
- How To Loosen Old Faucet Nuts
With so many websites and forums giving Remove Kitchen Faucet Nut-related information, it is not difficult to locate what you want.
This is a highly unconventional method for obtaining knowledge on how to remove old faucet plastic nuts, compared to what most people are accustomed to. It permits a more in-depth examination of the content and application of information regarding Remove Fastener Nut for Kitchen Faucet (Rusted?).
 Methods for creating aesthetically pleasing and informative presentations of Remove Kitchen Faucet Nut information. They can be utilized in business and marketing environments to convey messages regarding Remove Fastener Nut for Kitchen Faucet (Rusted?). Consequently, we additionally supply photographs regarding How To Remove Plastic Faucet Connector.
This article concludes by providing an overview of How To Remove Faucet Lock Nut. In addition, How To Loosen Plastic Wing Nuts and Removing a Faucet (Top-Mount or Bottom-Mount) are discussed to compare your understanding of Basin Wrench For Plastic Nuts.
